SMTP Logging
Note that email sent through our SMTP service are always being logged regardless of your logging setting.
Once we forward emails to your personal inbox, by default when you reply to that email, the receiver will see your personal email address, not the alias with your own domain. To make the reply address "FROM" to the alias on your domain, we need a SMTP server.
Mailwip's customers who are on Professional and Business plan can access to this feature. The process invokes 2 steps.
Head over to your Domain configure page and click on "SMTP/Sending" tab.
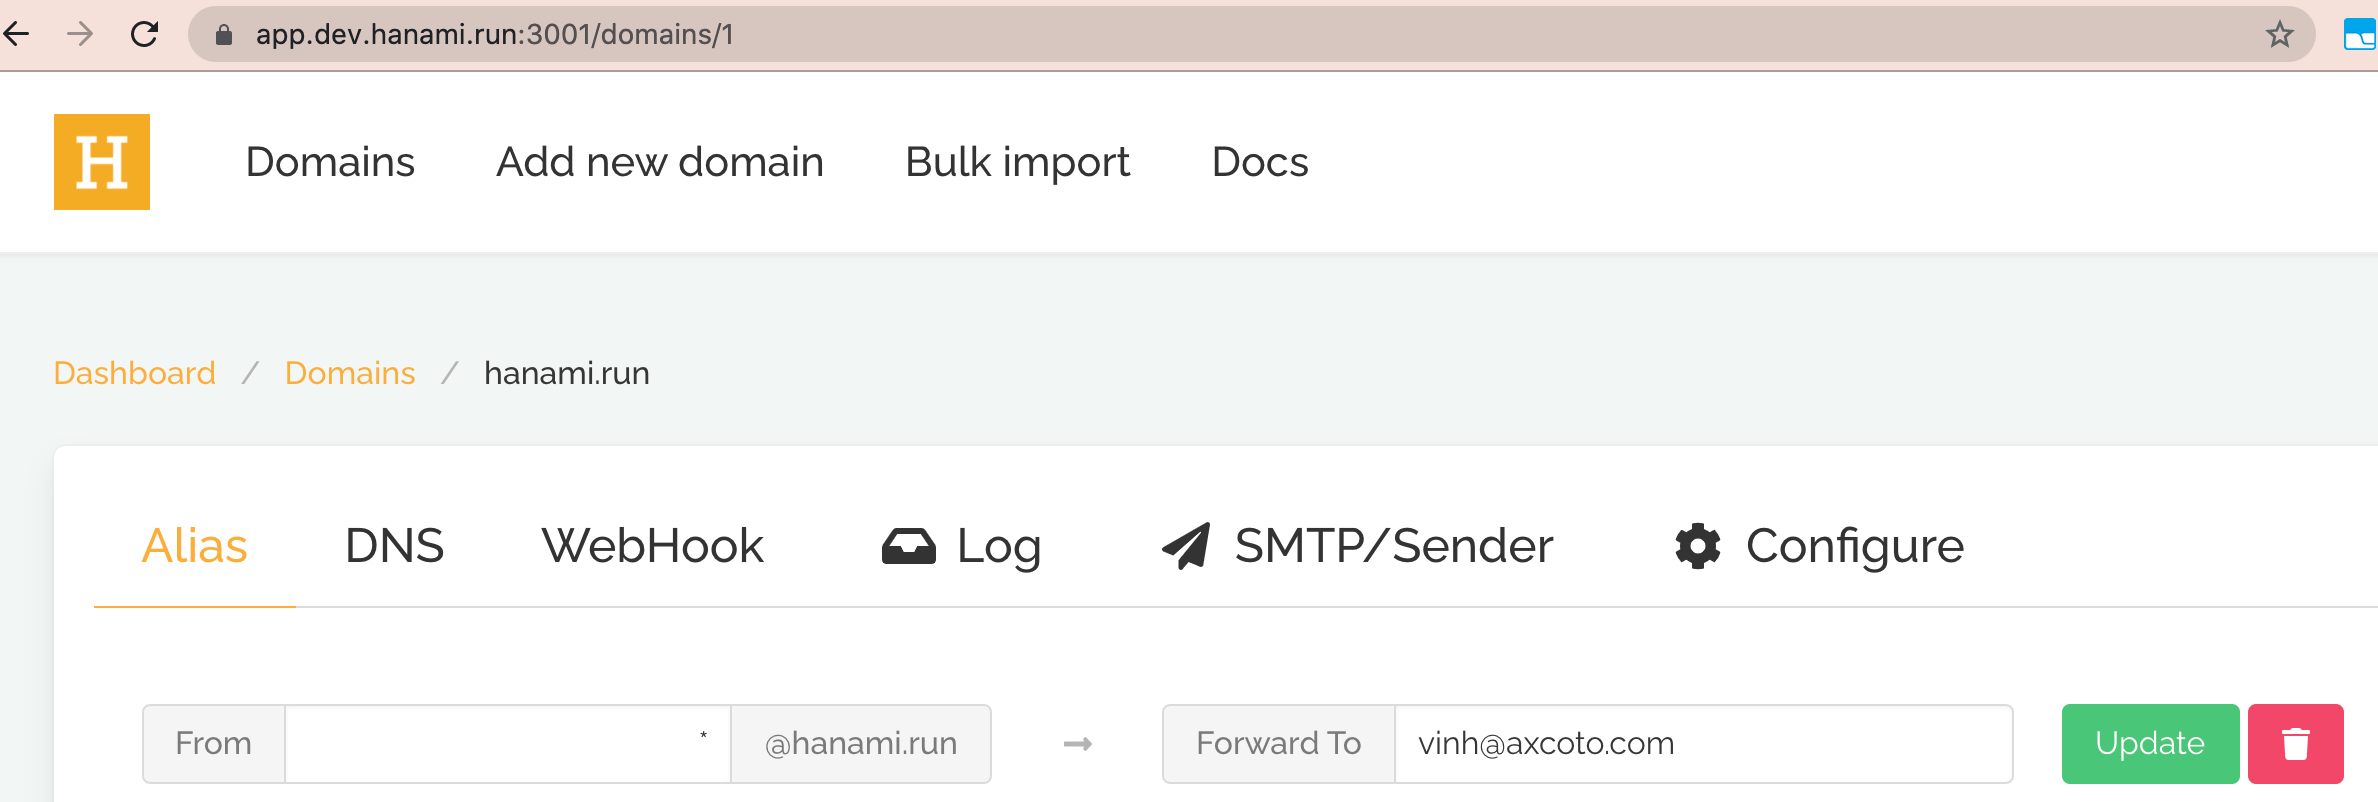
Create an SMTP account, and take note of the password(the password is automatically generated for you) and you can access this page to view the password again. This SMTP password isn't the password you used to login to Mailwip website.
For the demonstration purpose, we will assume the domain we are acting on is getopty.com. Replace this with your real domain and credentials
Now, Go to gmail setting at https://mail.google.com/mail/u/0/#settings/accounts and go to "Send mail as" section:
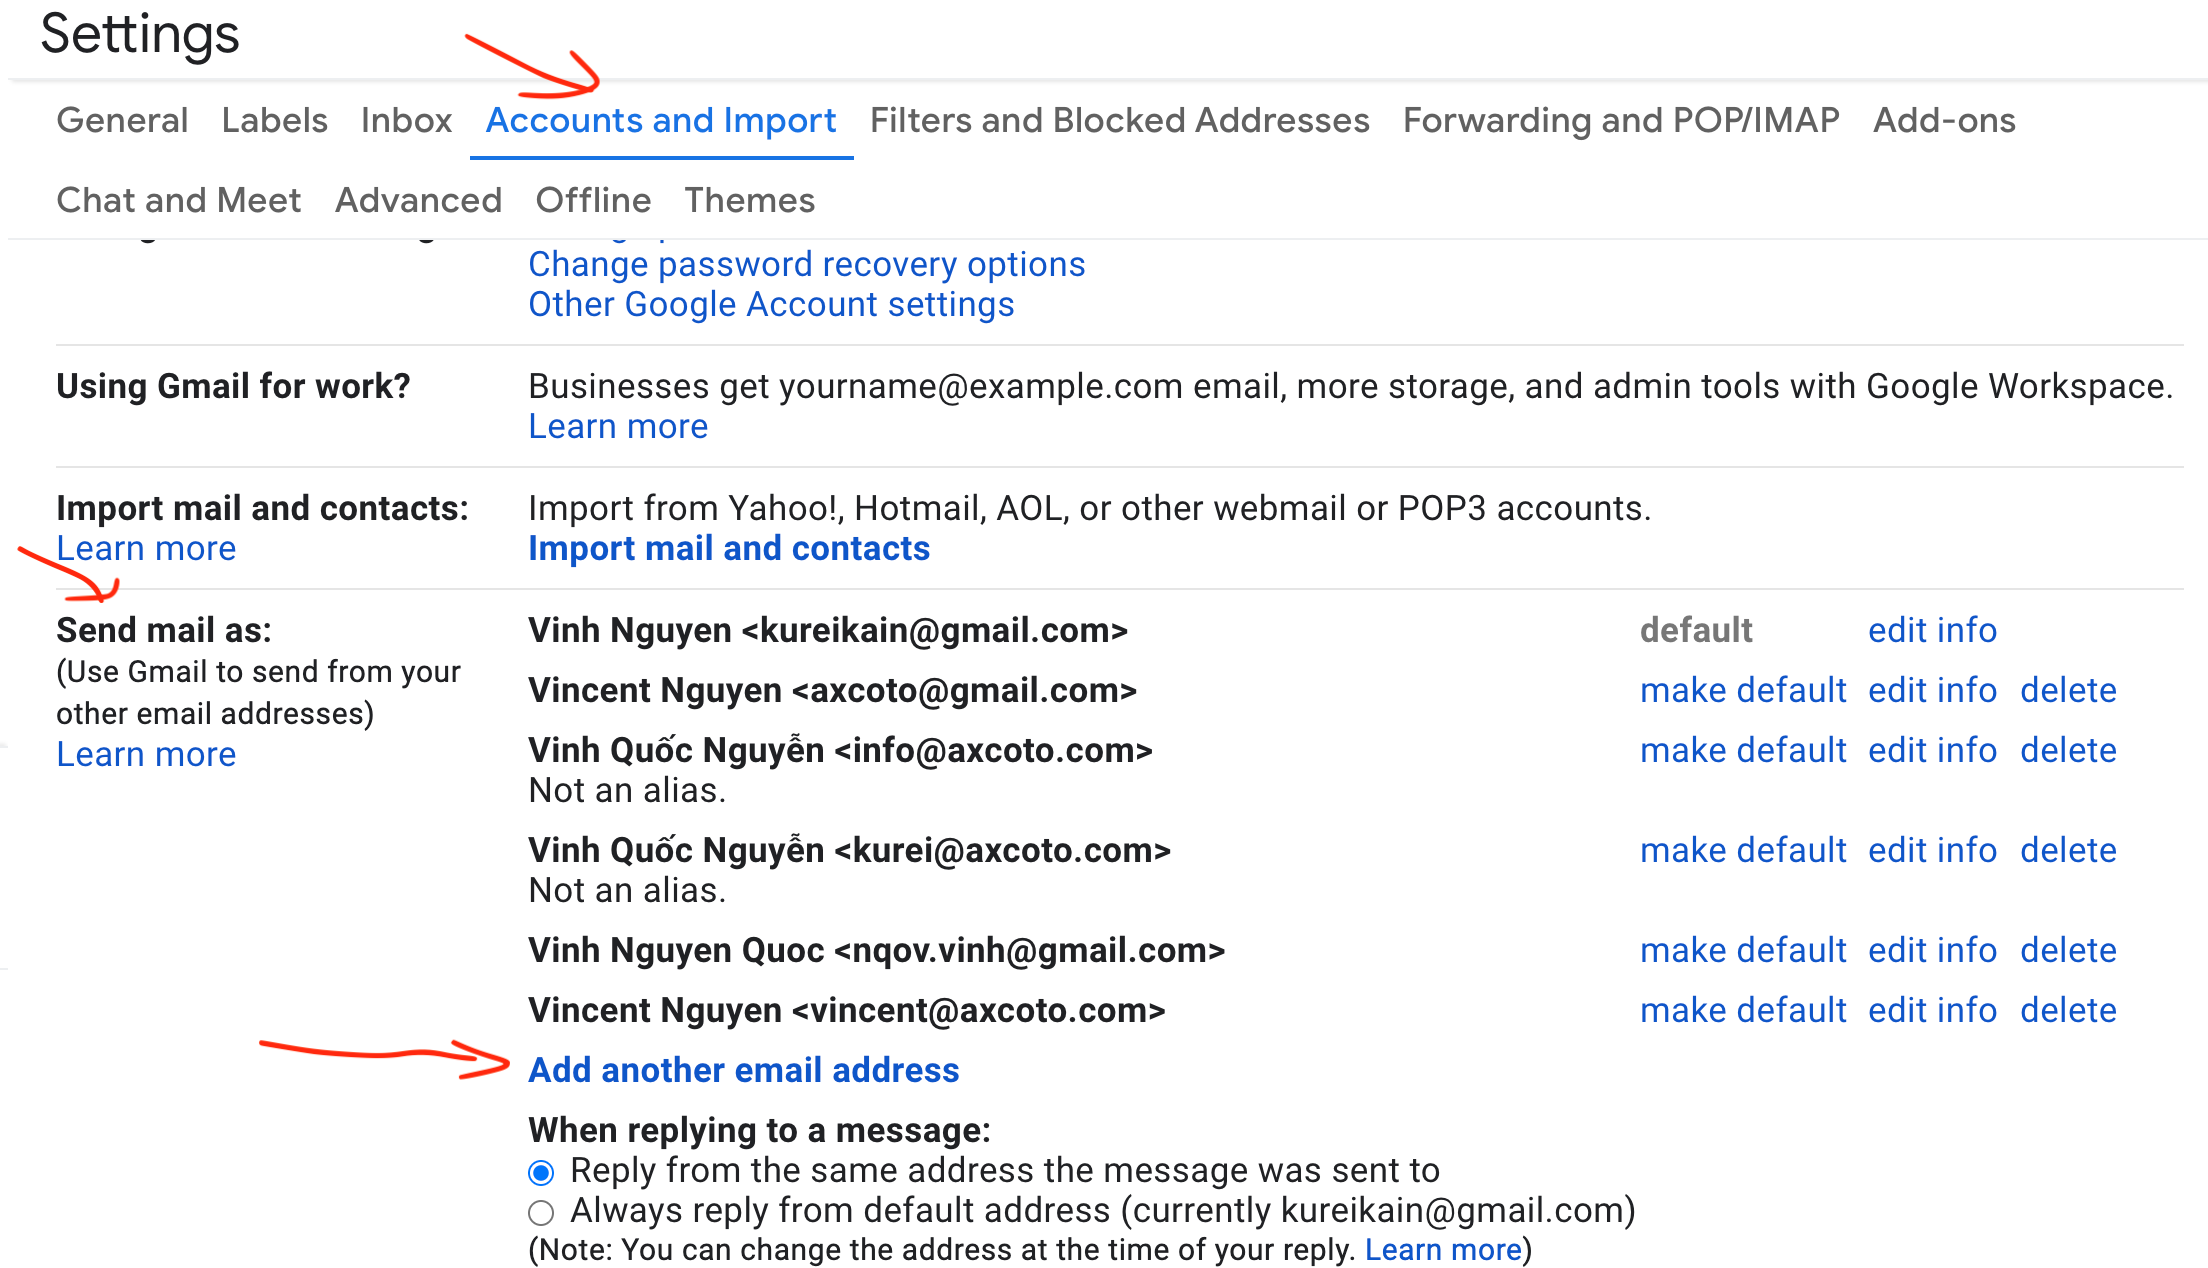 Click on "Add another email address".
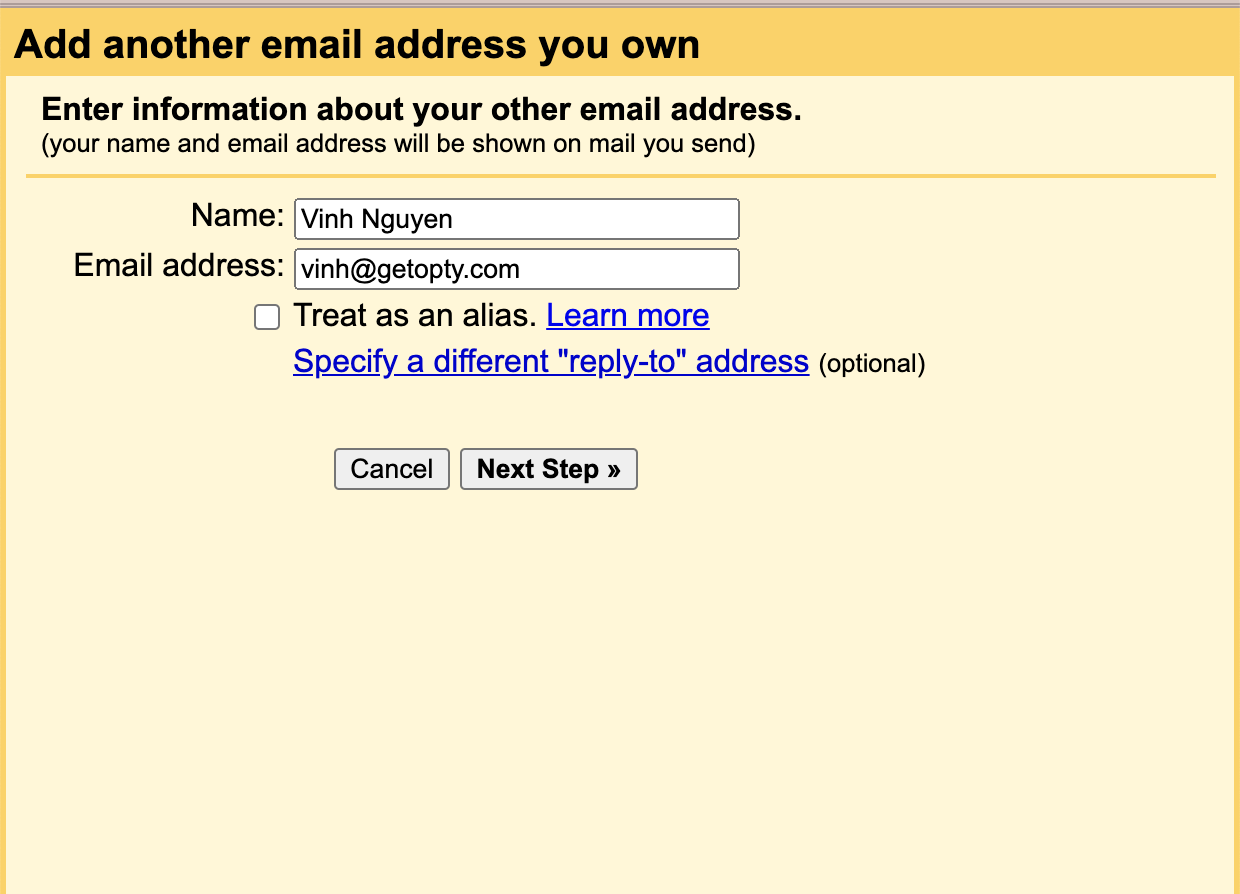
Enter your name and your smtp account, you have to Uncheck "Treat as an alias" then click "Next steps":
 In next screen, Clear out any pre-fill data and enter server info as below:
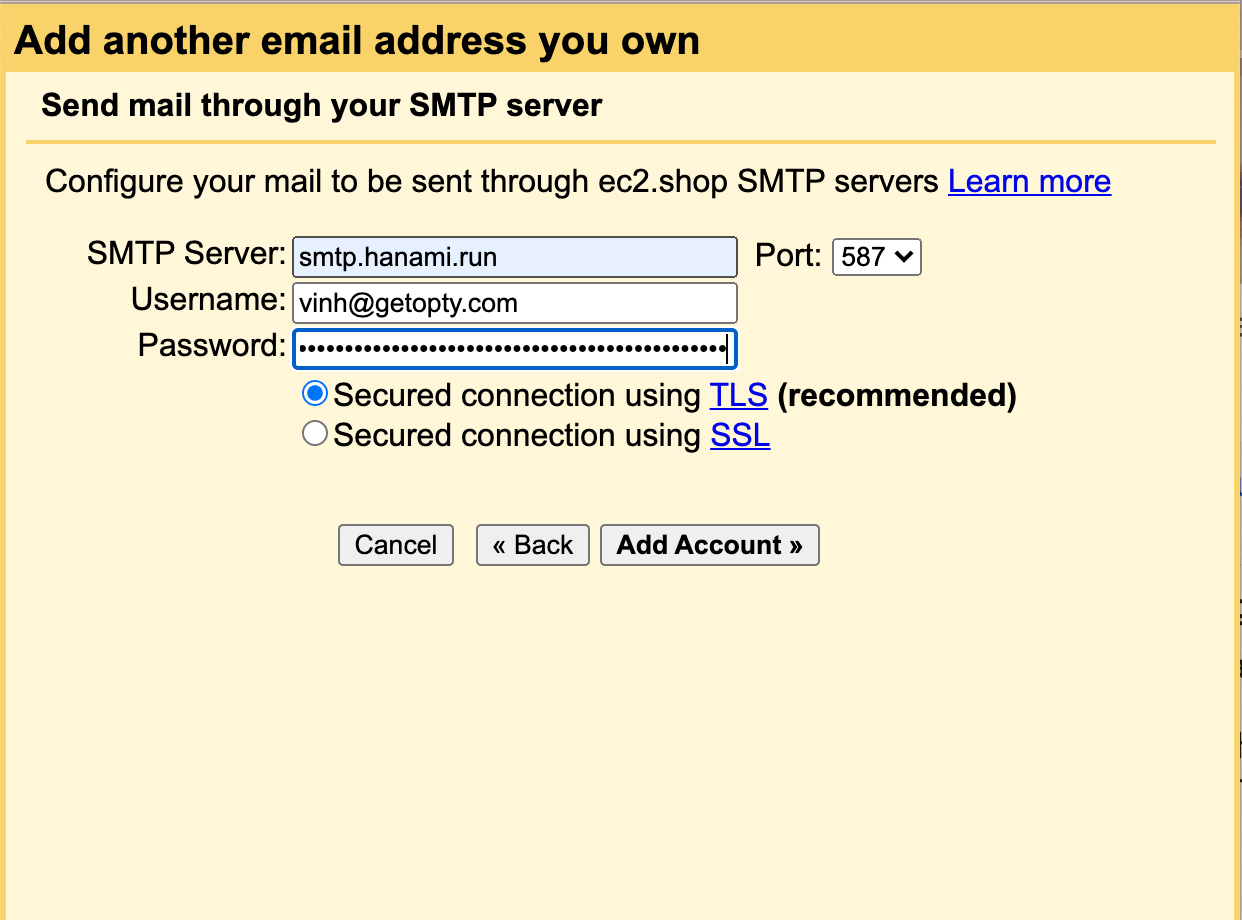
Click "Add Account". You will see this screen next.
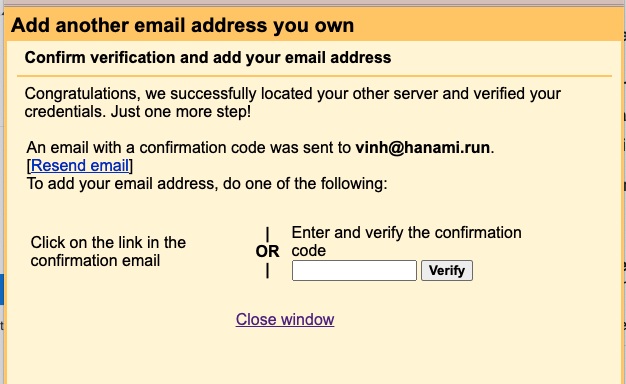
Check your email and enter the confirmation code, then click "Verify" and you're done
 .
.
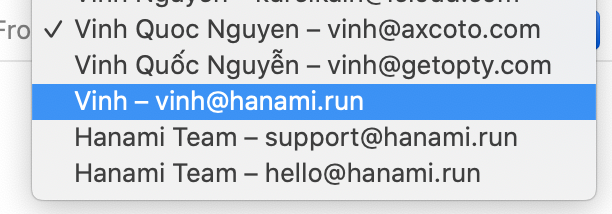
Now when sending out email, gmail will give you option to pick the "From address" like this:
 .
.